How to Choose the Best Kitchen Sink for Your Needs?
Choosing a Kitchen Sink is not just a style decision. It affects meal preparation, cleanup, storage, and how comfortably two people can work side by side. The NKBA’s 2024 Kitchen Trends Report and Houzz’s 2024 U.S. Kitchen Trends Study provide useful context on professional design perspectives and homeowner renovation choices. They can help identify broader trends, but a trend is not a fit test. Your kitchen’s layout, plumbing, habits, and budget matter more.
Start with the work you actually do. A deep single-bowl sink can handle a stockpot, while a divided basin may make rinsing and food preparation easier. Measure the cabinet opening, check the faucet reach, and consider whether a heavy cast-iron sink needs extra support. Small details count. Material matters, too: stainless steel is practical and familiar, while fireclay can bring a bright, solid look but may need careful handling. No option is perfect. Even a popular finish can show water spots in hard-water areas, and that is easy to underestimate. This guide compares sink types, materials, mounting styles, sizes, and everyday maintenance, so you can weigh the evidence against your own routine—not just a showroom display.
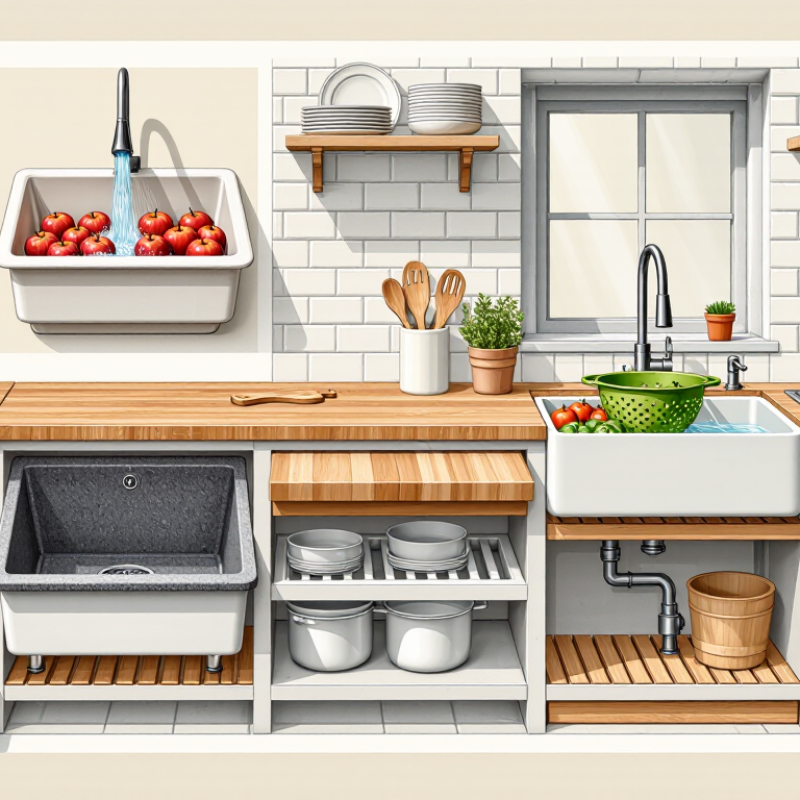
Assess Daily Kitchen Tasks to Choose a Single- or Double-Bowl Layout
A sink’s layout should fit the work you repeat every day, not just the look of the kitchen. Notice what happens at cleanup: Do you wash large pots by hand, rinse produce, or stack dishes for the dishwasher? If roasting trays and stockpots often need washing, a single, wide bowl usually gives them more room to lie flat. That matters. You can also keep a wash basin inside it when you need to separate tasks.
A double-bowl sink can help when one side holds soapy dishes and the other stays free for rinsing or food prep. But each bowl is narrower, which can make oversized cookware awkward. Not always a deal-breaker. It depends on what you cook and how you clean. A small household that uses a dishwasher may value the separation; someone who cooks with wide pans may prefer one open basin.
Before choosing, measure your largest frequently washed item and compare it with each bowl’s usable interior, not just the sink’s overall width. Check faucet reach, counter space, and whether a drying rack will crowd the area. It is easy to assume a double bowl is automatically more practical. It isn’t. Daily habits can change, too, so leave room for the occasional bulky pot or an unexpectedly busy dinner.
Measure Cabinet Space Before Selecting Sink Width and Installation Type
Before choosing a sink, measure the cabinet opening, not just the countertop. Use a tape measure to check the interior width from side to side, then note the cabinet’s depth and the space beneath it. A wide sink may look appealing, but it can crowd plumbing or leave too little room for clips. Small details matter.
Check the cabinet frame, doors, and drawers, too. Open them fully and look for hinges, rails, and disposal connections that could interfere with the basin. Leave room for installation hardware and any plumbing adjustments. I have seen measurements taken at the front only; that can miss a narrower cabinet frame at the back. Measure twice.
The sink’s installation type affects the opening required. A drop-in sink rests on the counter, while an undermount model needs a cutout matched to the basin and countertop material. Compare the manufacturer’s template with your actual cabinet dimensions before ordering. If the counter is already installed, ask a qualified installer to verify the cutout and support requirements. A little uncertainty here is worth checking, not guessing.
How to Choose the Best Kitchen Sink for Your Needs? — Measure Cabinet Space Before Selecting Sink Width and Installation Type
Use these planning ranges to narrow your options. Cabinet dimensions are nominal; measure the actual cabinet and check the sink’s minimum-cabinet and cutout requirements before purchasing.
| Nominal Base-Cabinet Width | Approximate Sink-Width Starting Range | Basin Layout to Consider | Installation Types to Evaluate | What to Measure or Check |
| 24 in (61 cm) | 20–21 in (51–53 cm) | Compact single bowl; useful when counter space is limited. | Top-mount or undermount, if the sink’s specifications and countertop allow. | Measure the cabinet’s clear inside width, plumbing position, and available front-to-back space. Check that the bowl does not interfere with cabinet walls or doors. |
| 30 in (76 cm) | 26–27 in (66–69 cm) | Roomier single bowl or a compact divided bowl, depending on the sink’s interior layout. | Top-mount or undermount; confirm countertop compatibility for undermount installation. | Check the sink’s required minimum cabinet width and the dimensions of the countertop cutout, not just the overall sink width. |
| 33 in (84 cm) | 29–30 in (74–76 cm) | Large single bowl or a two-bowl configuration for separating tasks. | Top-mount, undermount, or farmhouse-style, subject to cabinet and countertop requirements. | For farmhouse sinks, confirm apron clearance, cabinet-front modifications, support requirements, and the required sink-base dimensions. |
| 36 in (91 cm) | 32–33 in (81–84 cm) | Extra-large single bowl or a more spacious two-bowl layout. | Top-mount, undermount, or farmhouse-style, if the surrounding cabinetry supports the chosen installation. | Measure the interior width and depth, countertop thickness, faucet-hole needs, and clearance for the sink, drain, and plumbing. |
| Installation Type | How It Fits | Planning Considerations |
| Top-mount (drop-in) | The sink rim rests on the countertop around the cutout. | Often suitable for a range of countertop materials. Check rim dimensions, cutout size, and available counter space around the opening. |
| Undermount | The sink is attached beneath the countertop, leaving the counter edge exposed. | Requires a compatible, properly finished countertop edge and secure support. Confirm the specified cutout and mounting method. |
| Farmhouse (apron-front) | The front of the sink is exposed at the cabinet face. | May require a purpose-built sink base or cabinet alterations. Check apron height, support, and the manufacturer’s cabinet-size requirements. |
Before selecting a sink: Measure the cabinet’s clear inside width and depth, then check the sink’s overall dimensions, minimum cabinet width, cutout template, and installation instructions. The ranges above are approximate planning guides; product specifications and the actual cabinet opening determine fit.
Compare Stainless Steel Gauges: 16-Gauge Is About 1.59 mm Thick
A kitchen sink’s steel gauge describes its thickness. In common sink specifications, 16-gauge stainless steel is about 1.59 mm thick. Lower gauge numbers generally indicate thicker steel. That extra material can help the bowl resist everyday dents and reduce vibration when water hits the basin. It is not dent-proof, though. A heavy pan dropped on an edge can still leave a mark.
Tips: Check the manufacturer’s stated thickness, not just the gauge. Compare the sink’s finish, bowl depth, and sound-dampening pads, too. Run a hand along the rim; thin edges may flex during installation. Confirm that your cabinet can support the sink, especially with a full bowl.
I used to think the thickest option was automatically best. That misses practical details. A 16-gauge sink may feel solid, but its shape and mounting method also affect stability and noise. For a busy kitchen, consider how often you wash large pots and whether the bowl fits them comfortably. If you rarely cook, a thinner sink may meet your needs, but check its construction carefully. Thickness can vary slightly, so treat 1.59 mm as a useful reference, not a guarantee.
How to Choose the Best Kitchen Sink: Comparing Stainless Steel Gauges
A lower gauge number generally means thicker steel. The 16-gauge reference shown here is about 1.59 mm thick.
These are approximate reference thicknesses: actual measurements can vary by material specification and manufacturer. For a kitchen sink, consider thickness alongside construction, finish, and installation requirements.
Check Sink Material and Performance Against Applicable Plumbing Standards
A kitchen sink faces water, cookware, food acids, and frequent cleaning. Choose a material that suits your habits and installation. Stainless steel resists corrosion, but thin bowls may ring when a pot drops. Enamel-coated or composite sinks can feel quieter; check their limits for chips, heat, and cleaning products. A polished showroom finish proves little.
Check performance claims against applicable plumbing standards, not just product descriptions. Requirements vary by location and sink type. Ask for documentation showing compliance with relevant standards, such as ASME A112.19.3 for certain stainless-steel plumbing fixtures, where applicable. For components that contact drinking water, ask whether health-effects requirements such as NSF/ANSI/CAN 61 apply. Confirm details with your local plumbing authority or a qualified installer. A certification alone does not confirm that every installation detail meets local code. Check drain compatibility, mounting style, and warranty exclusions, too. I might overvalue a certificate; it cannot tell me whether the bowl fits my daily routine.
Tips: Bring cabinet measurements, faucet-hole needs, and drain position when comparing sinks. Read the care sheet. Ask how the warranty handles scratches and heat damage.
Verify Faucet Compatibility and the U.S. 2.2-GPM Flow-Rate Limit
A kitchen sink and faucet need to work as a pair, not just look good together. Check the sink’s number of mounting holes before choosing a faucet. A single-hole faucet may need a deck plate to cover extra holes, while a wall-mounted faucet requires different planning. Measure the distance from the faucet base to the basin, too. A short spout can leave a large sink awkward to use; an overly long one may splash water onto the counter. Check clearance beneath the sink for hoses, clips, and a pull-down sprayer. Small detail, big annoyance. Even a compatible setup can feel wrong once dishes are stacked in the bowl.
In the United States, 2.2 gallons per minute (GPM) at 60 psi is the federal maximum flow rate for most kitchen faucets. Check the product specifications for its rated GPM and the pressure used for testing. A lower-flow faucet can still work well, but filling a stockpot may take longer. Aerators can make the stream feel fuller without increasing the listed flow rate. If water pressure at home is low, the faucet may deliver less than its rating; the spec sheet cannot tell you exactly how it will feel at your sink. Compare the faucet’s reach, spray options, and flow rating with your household’s routines, and check applicable local requirements before purchase.
